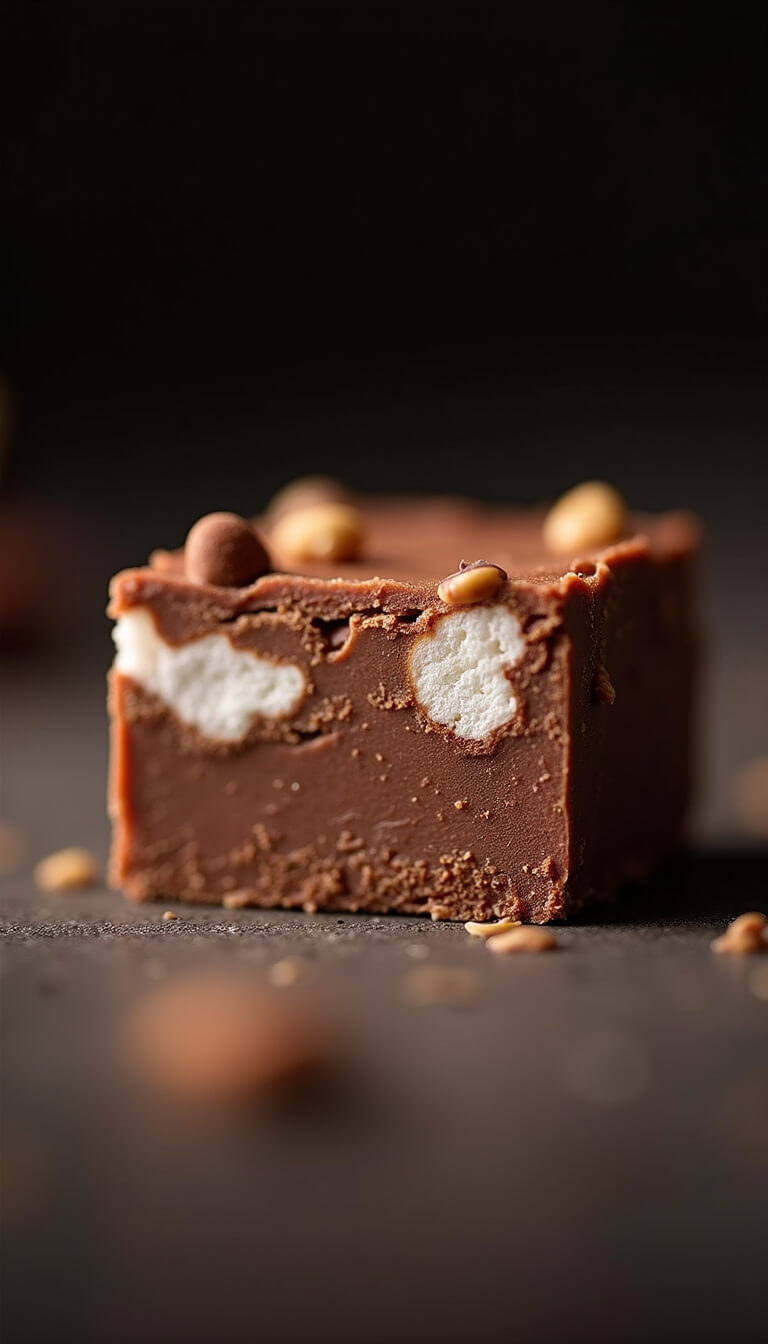
Why Rocky Road Fudge is Your New Favorite Dessert
Imagine creating a mind-blowing chocolate treat in just 10 minutes. No fancy skills required. Just pure, delicious magic happening right in your kitchen.

What Makes This Recipe Foolproof
Key Ingredients You’ll Need:
- 12-18 oz chocolate chips (semi-sweet or milk chocolate)
- 1 can sweetened condensed milk
- 2-3 cups mini marshmallows
- 1 cup chopped nuts (whatever you’ve got!)
- Optional: 1-2 tablespoons butter
- 1 teaspoon vanilla extract
Step-by-Step Rocky Road Fudge Magic
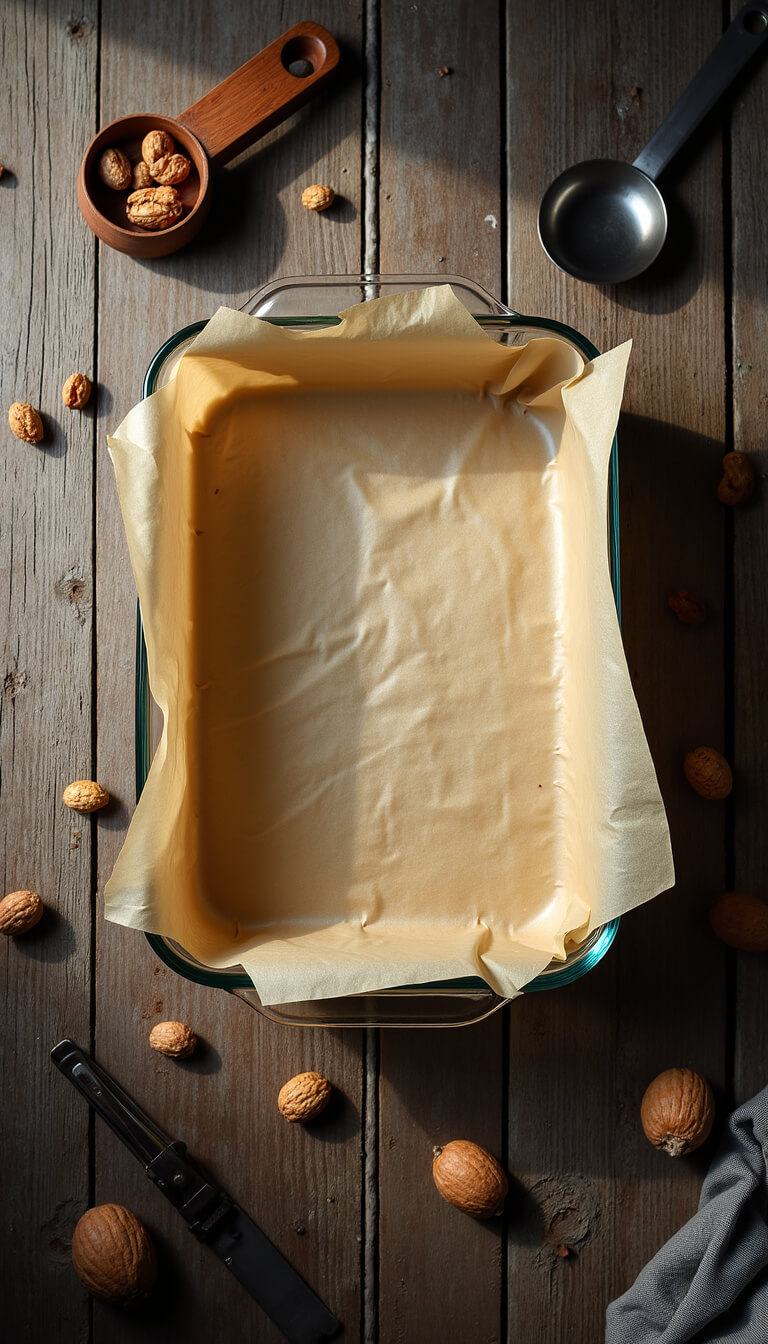
Prep Like a Pro
- Pan Preparation: Grab an 8×8 or 9×13 pan. Line it with parchment paper. Pro tip: Grease it lightly so nothing sticks.

- Chocolate Melting Hack:
- Microwave method: 30-second intervals
- Stovetop method: Low and slow in a saucepan
- Mix chocolate chips, condensed milk, and butter
- Stir until smooth and dreamy

- Flavor Bomb Time:
- Pull from heat
- Splash in vanilla extract
- Fold in nuts carefully
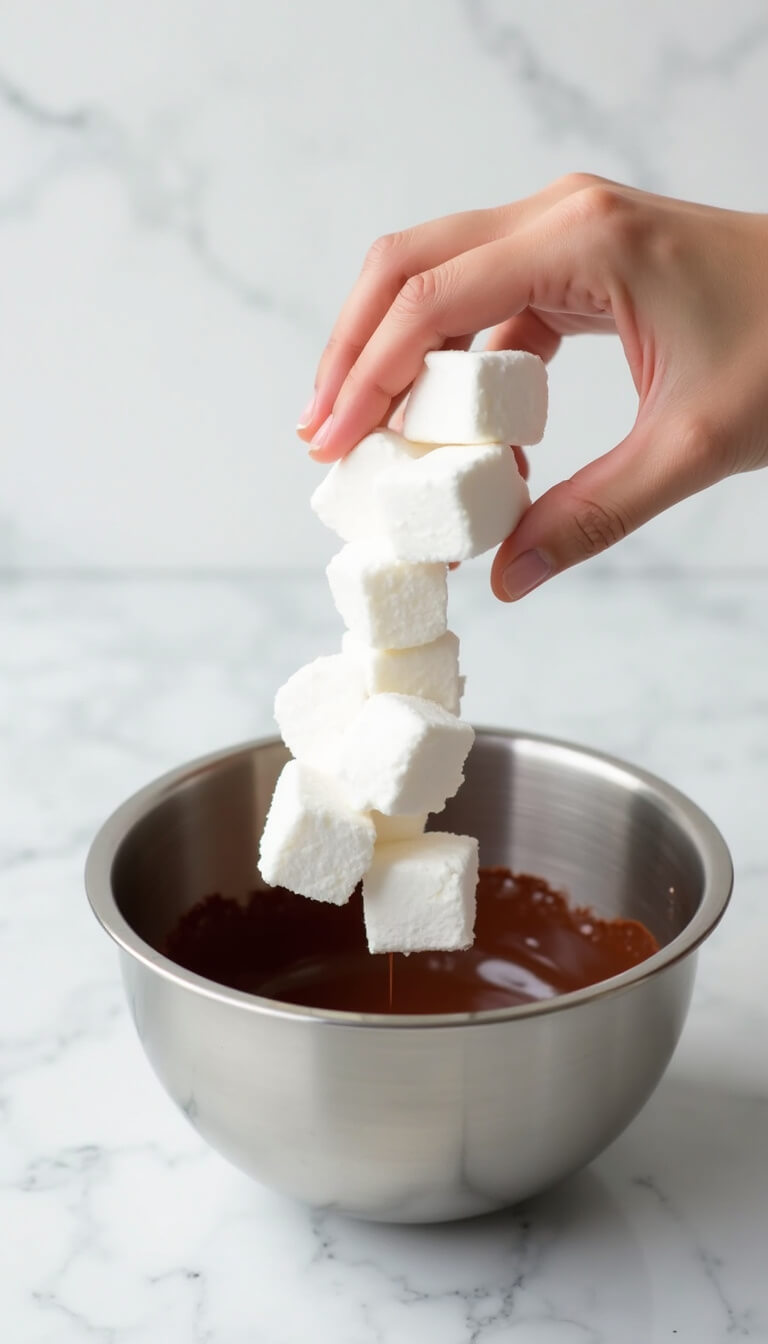
- Add most marshmallows (save some for topping)
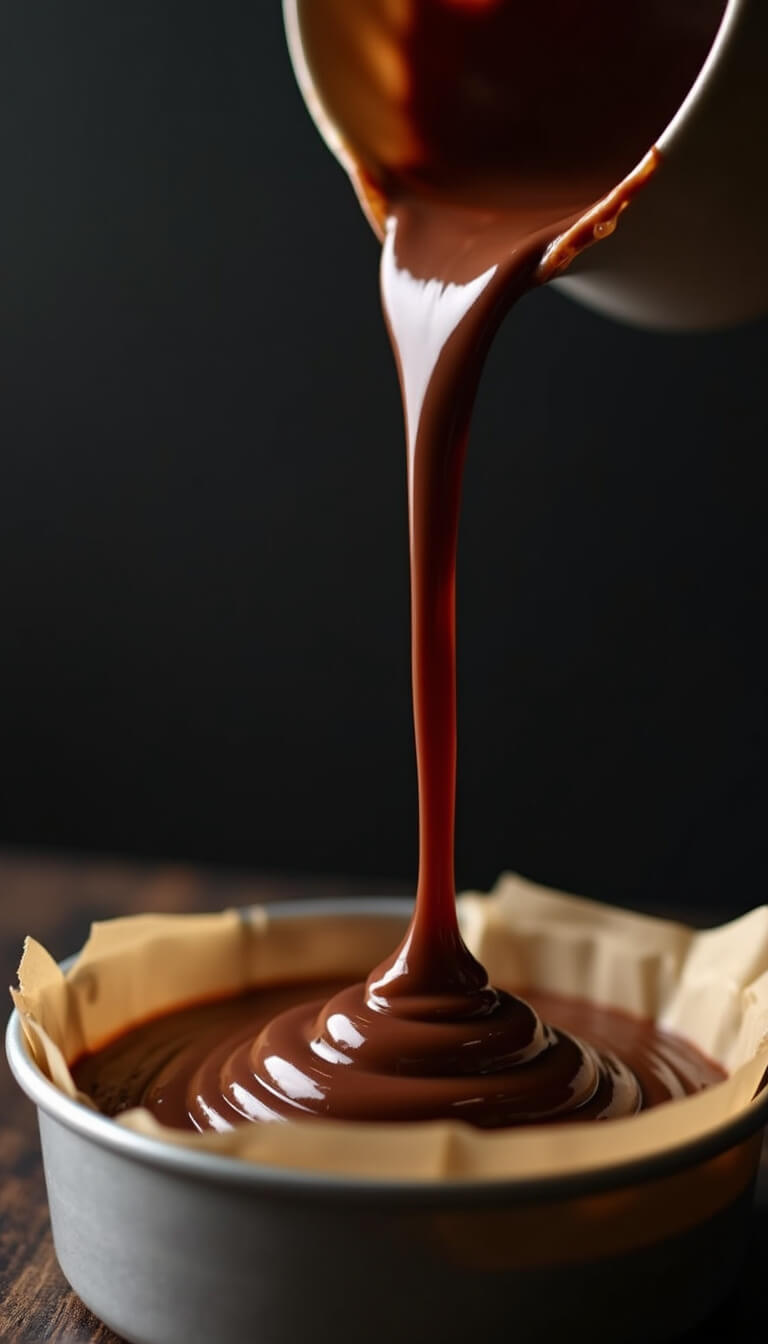
- Final Touch:
- Pour into prepared pan
- Sprinkle remaining marshmallows on top
- Press down gently
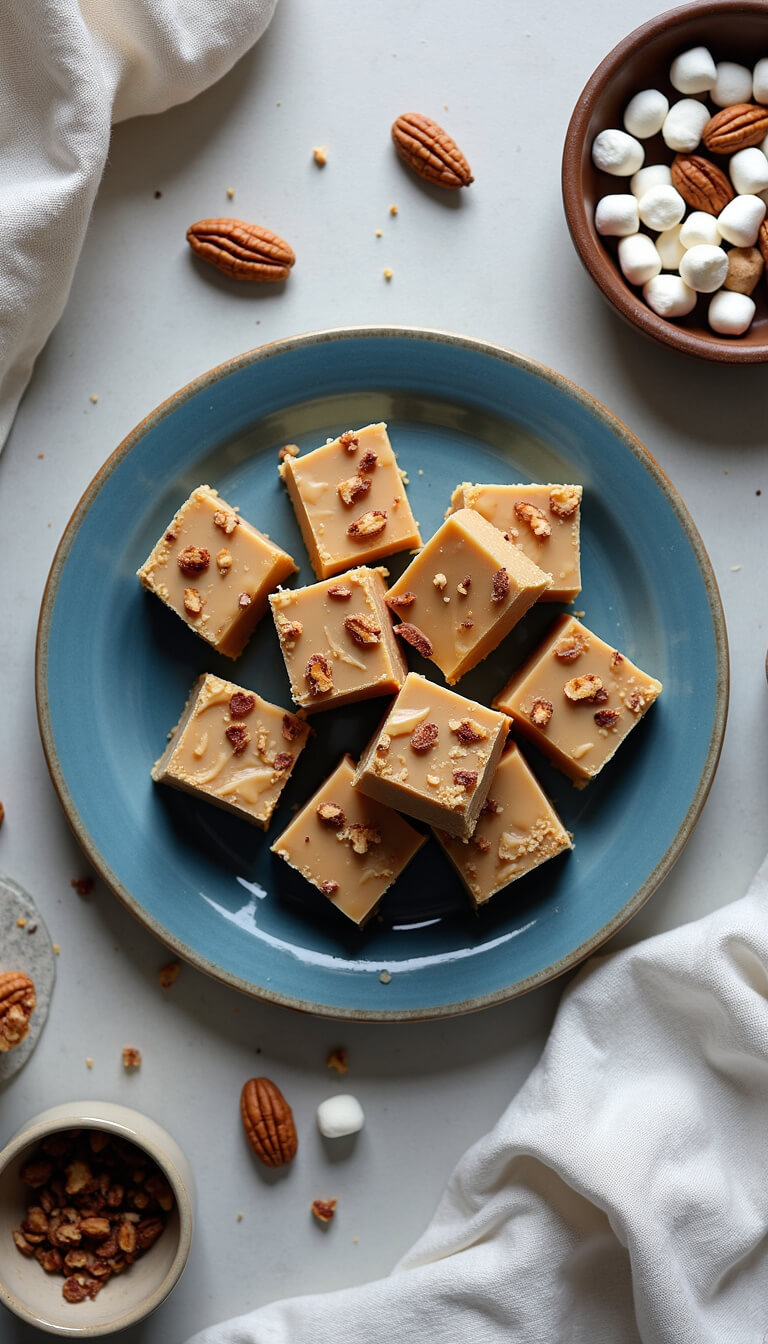
- Chill and Thrill:
- Refrigerate 1-3 hours
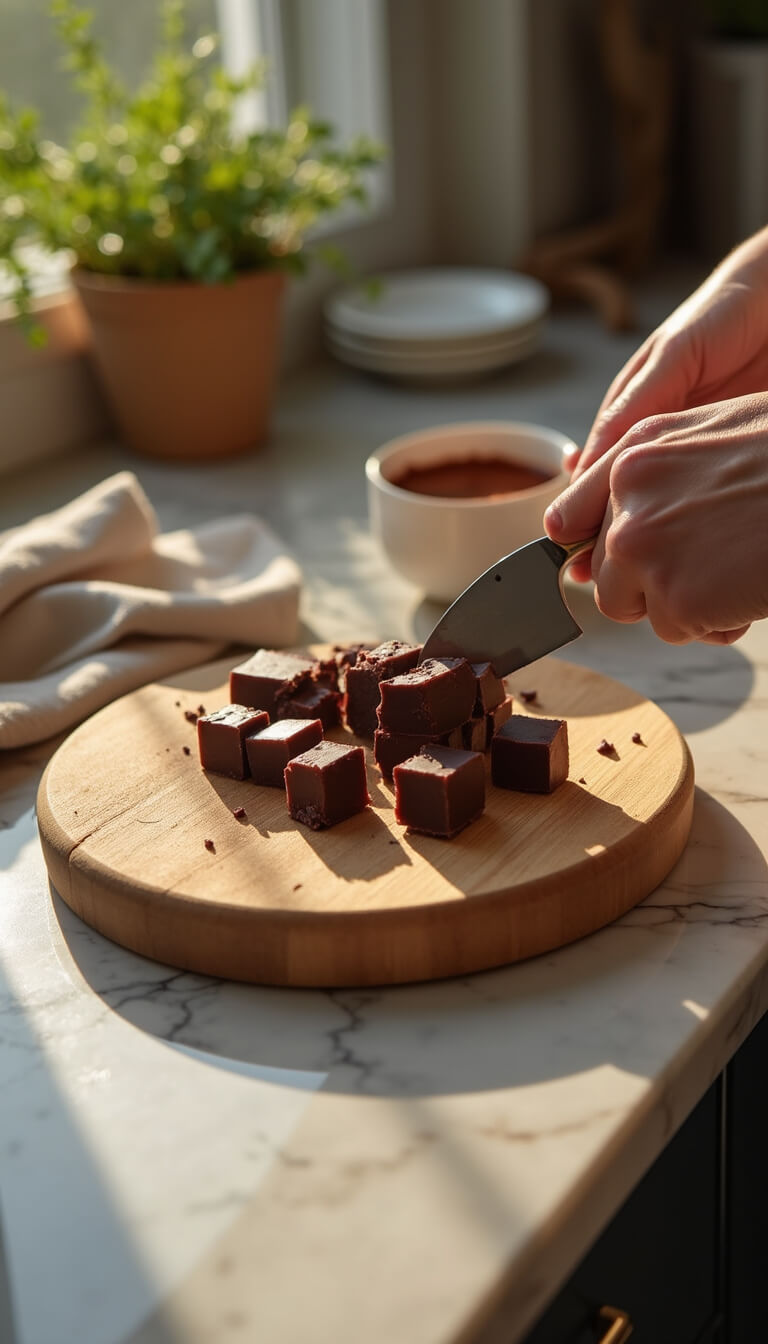
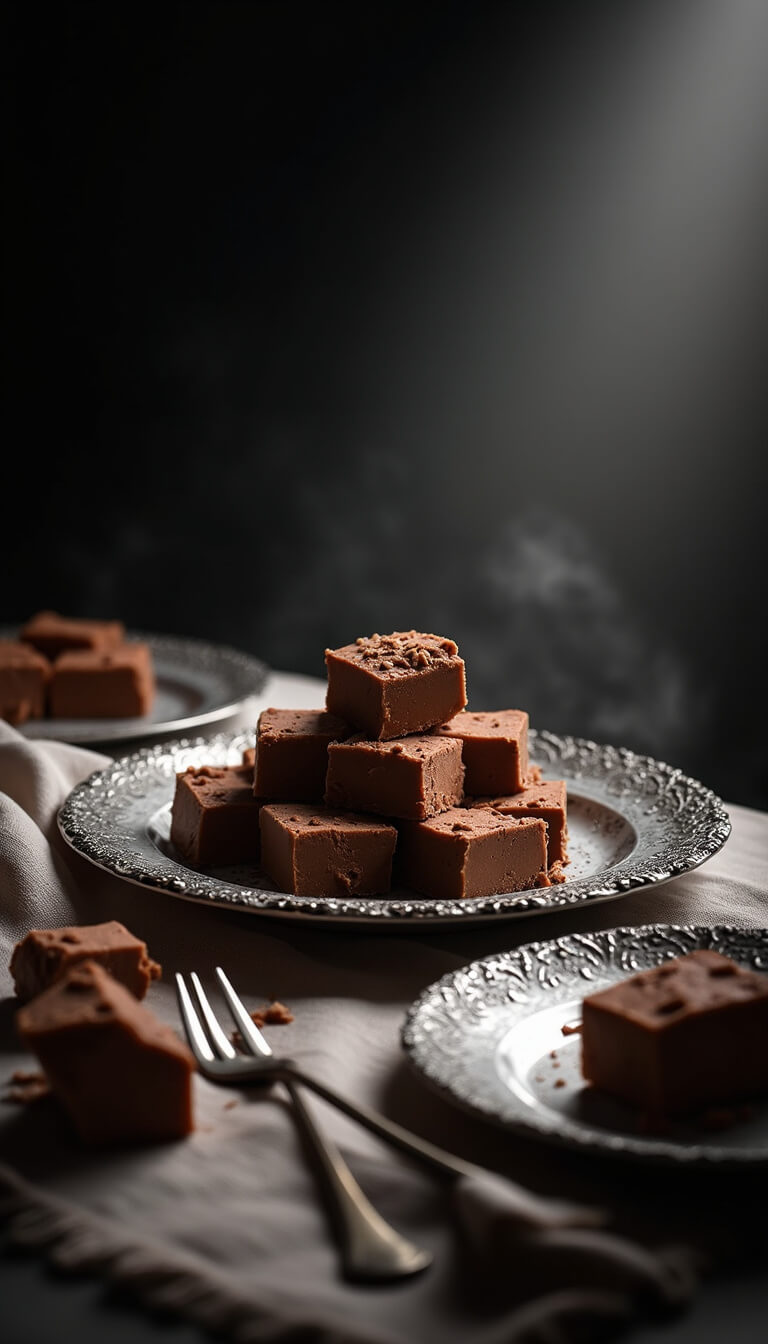
- Cut into squares
- Devour immediately!
Genius Customization Tricks
Want to make this recipe totally yours? Here’s how:
- Swap nuts at will
- Mix chocolate types
- Add dried fruit for extra zing
- Skip butter for firmer texture
Pro Tips That’ll Blow Your Mind
- Freeze marshmallows before adding for perfect texture
- Don’t overmix – keep that rocky look!
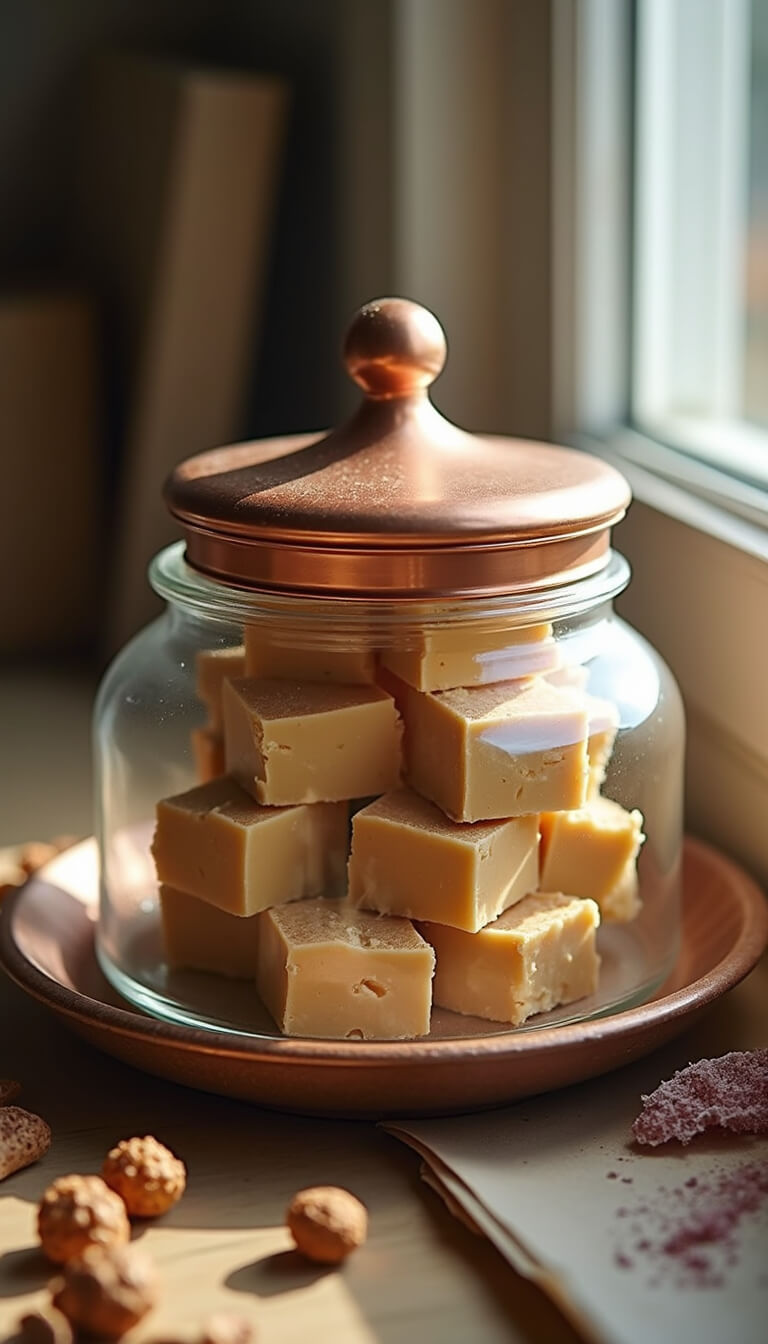
- Stores up to 1 week in airtight container
Common Rookie Mistakes to Avoid
- Burning chocolate (low and slow, people!)
- Melting marshmallows completely
- Forgetting to line the pan
Nutrition Quick Peek
(Disclaimer: This isn’t diet food – it’s pure joy!)
- High in sugar
- Decadent chocolate goodness
- Totally worth every single bite
Final Thoughts
Rocky Road Fudge isn’t just a dessert. It’s a celebration of chocolate, a testament to quick cooking, and basically happiness you can eat. Whether you’re a baking newbie or a kitchen pro, this recipe is your ticket to dessert superstardom.
Go forth and create chocolate magic!
Quick Recipe Recap:
- Total Time: 10 minutes + chilling
- Difficulty: Kindergartener could do it
- Deliciousness: Off the charts
Grab those ingredients and let’s make some fudge!